
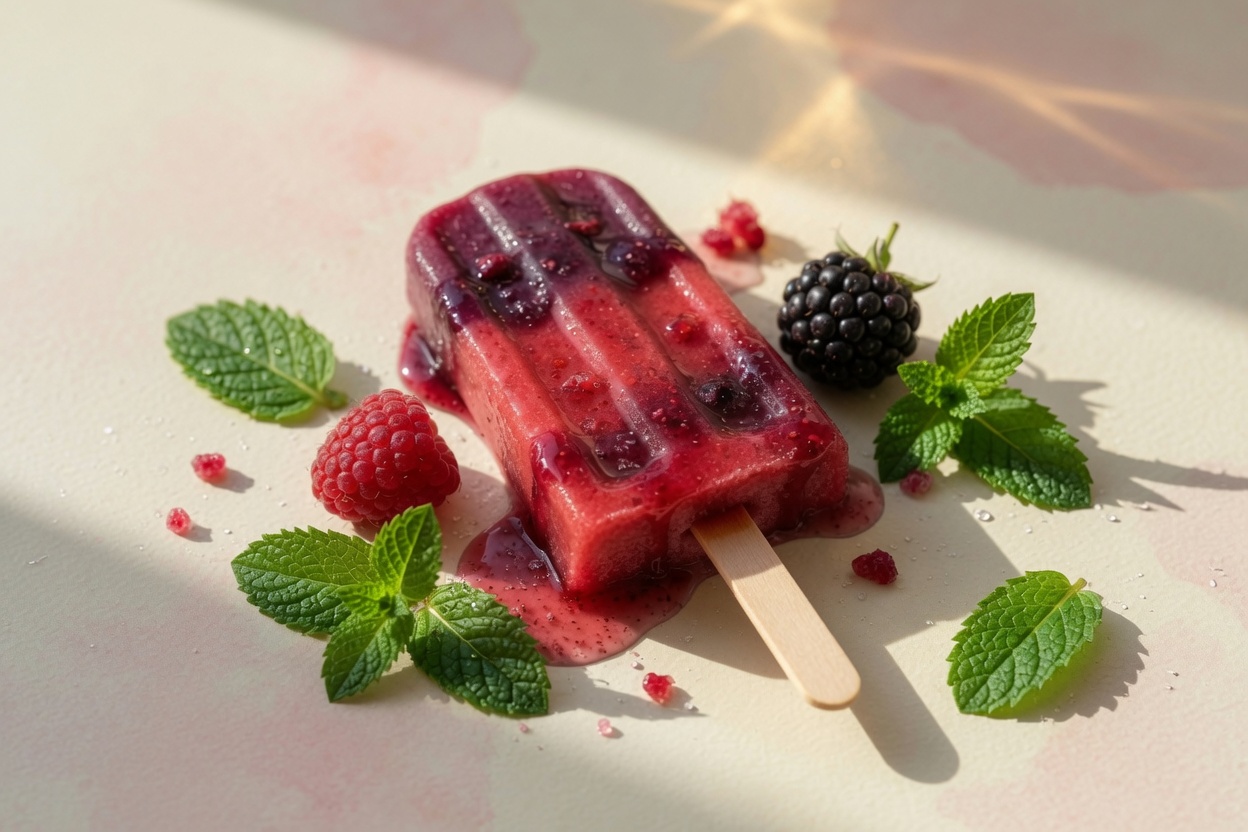
A frozen treat that requires no oven, no complicated steps, and almost no effort? Yes please! When the summer heat settles in and the last thing you want is to turn on the stove, these no-bake berry & yogurt ice pops come to the rescue. They are creamy, fruity, and made from just five simple ingredients that you probably already have in your kitchen.
The beauty of this recipe is its simplicity. You do not need any special equipment beyond a blender and a set of ice pop molds. In less than ten minutes of active time, you can create a batch of wholesome, refreshing pops that taste like summer in every bite. And because they are no‑bake, your kitchen stays cool, and you stay calm.
These no-bake berry & yogurt ice pops have become my go‑to treat for slow afternoons. I make a batch on Sunday, and they last all week – perfect for an after‑dinner treat, a midday cool‑down, or even a healthy snack for little ones. Let me show you how easy they are to make.
Why you will love this recipe
This recipe is a quiet little gift you give yourself. Here is why it works so beautifully for slow summer living.
- Only five ingredients. Yogurt, berries, honey, vanilla, and a splash of milk. That is all.
- No baking. Your oven stays off. Your kitchen stays cool. Your stress stays low.
- Ready in minutes. Blending takes two minutes. Freezing does the rest.
- Customisable. Use any berries you have – fresh or frozen. Swap honey for maple syrup. Add a handful of spinach for a green pop (no one will taste it).
- Kid‑friendly. Let little hands help pour the mixture into molds. A lovely, screen‑free summer activity.
The first time I made these no-bake berry & yogurt ice pops, I was amazed at how something so simple could taste so luxurious. The yogurt makes them creamy, the berries add natural sweetness, and the honey gives a gentle floral note. They are not too sweet, not too heavy – just right for a warm evening on the porch.
And if you are looking for simple, no bake slow breakfast ideas, here is my blog post.
What you will need
Gather these five ingredients. Most are likely already in your fridge or pantry.

- 2 cups plain Greek yogurt (full‑fat or low‑fat, both work)
- 1 cup mixed berries (fresh or frozen – strawberries, blueberries, raspberries, or blackberries)
- 3 tablespoons honey (or maple syrup for a vegan option)
- 1 teaspoon vanilla extract
- 2 tablespoons milk (any kind – dairy or plant‑based)
Optional add‑ins
- A handful of fresh mint leaves for a herbal twist
- A squeeze of lemon juice to brighten the berries
- A tablespoon of chia seeds for extra texture
The base of these no-bake berry & yogurt ice pops is wonderfully forgiving. If your yogurt is very thick, add a little more milk. If your berries are very tart, add an extra teaspoon of honey. Taste the mixture before freezing and adjust until it feels right to you.
Step‑by‑step instructions
Set aside ten minutes. The freezer will handle the rest.
Step 1: Blend the ingredients.
In a blender, combine the Greek yogurt, mixed berries, honey, vanilla extract, and milk. Blend on medium speed until completely smooth. Scrape down the sides if needed. The mixture should be a beautiful, even pink or purple, depending on your berries.
Step 2: Taste and adjust.
Give the mixture a taste. Is it sweet enough? Do you want more berry flavour? Add a little more honey or a few extra berries and blend again.
Step 3: Pour into molds.
Place your ice pop molds on a small baking sheet (this makes them easier to move). Carefully pour the berry‑yogurt mixture into each mold, leaving a little space at the top for expansion as they freeze.
Step 4: Insert sticks.
If your molds come with lids that hold the sticks in place, attach them now. If not, insert the wooden sticks about three‑quarters of the way into the mixture.

Step 5: Freeze.
Place the filled molds in the freezer for at least 4 to 6 hours, or overnight. They are ready when the pops are completely solid.
Step 6: Unmold and enjoy.
To remove the pops, run the outside of the molds under warm water for a few seconds. Gently pull the sticks. The no-bake berry & yogurt ice pops should slide out easily. Serve immediately.
A few kind notes
These pops are best enjoyed within two weeks, but in my house, they never last that long.
- Using frozen berries. No need to thaw them first. Frozen berries blend beautifully and make the mixture extra cold, which helps it freeze faster.
- Not too sweet. This recipe is intentionally light on sugar. The natural sweetness of the berries and honey is enough. If you prefer a sweeter pop, add an extra tablespoon of honey.
- No molds? Use small paper cups and wooden sticks. Pour the mixture into the cups, cover with foil, poke a stick through the foil, and freeze. Peel off the paper cup before eating.
These no-bake berry & yogurt ice pops are my favourite way to cool down after an afternoon of gentle gardening or a slow walk in the evening sun. I hope they become a small, sweet ritual in your summer too.
A quiet invitation
This summer, I invite you to slow down with a homemade frozen treat. No rush, no complicated recipe, no guilt. Just you, a berry‑pink pop, and a few quiet moments.
Make a batch this weekend. Share them with someone you love. Or eat them all yourself – that is allowed too.
👇 What is your favourite berry combination for summer treats? Share in the comments below or tag me on Instagram @sophiasquietcottage.
Save this recipe for the next warm day. 📌


