
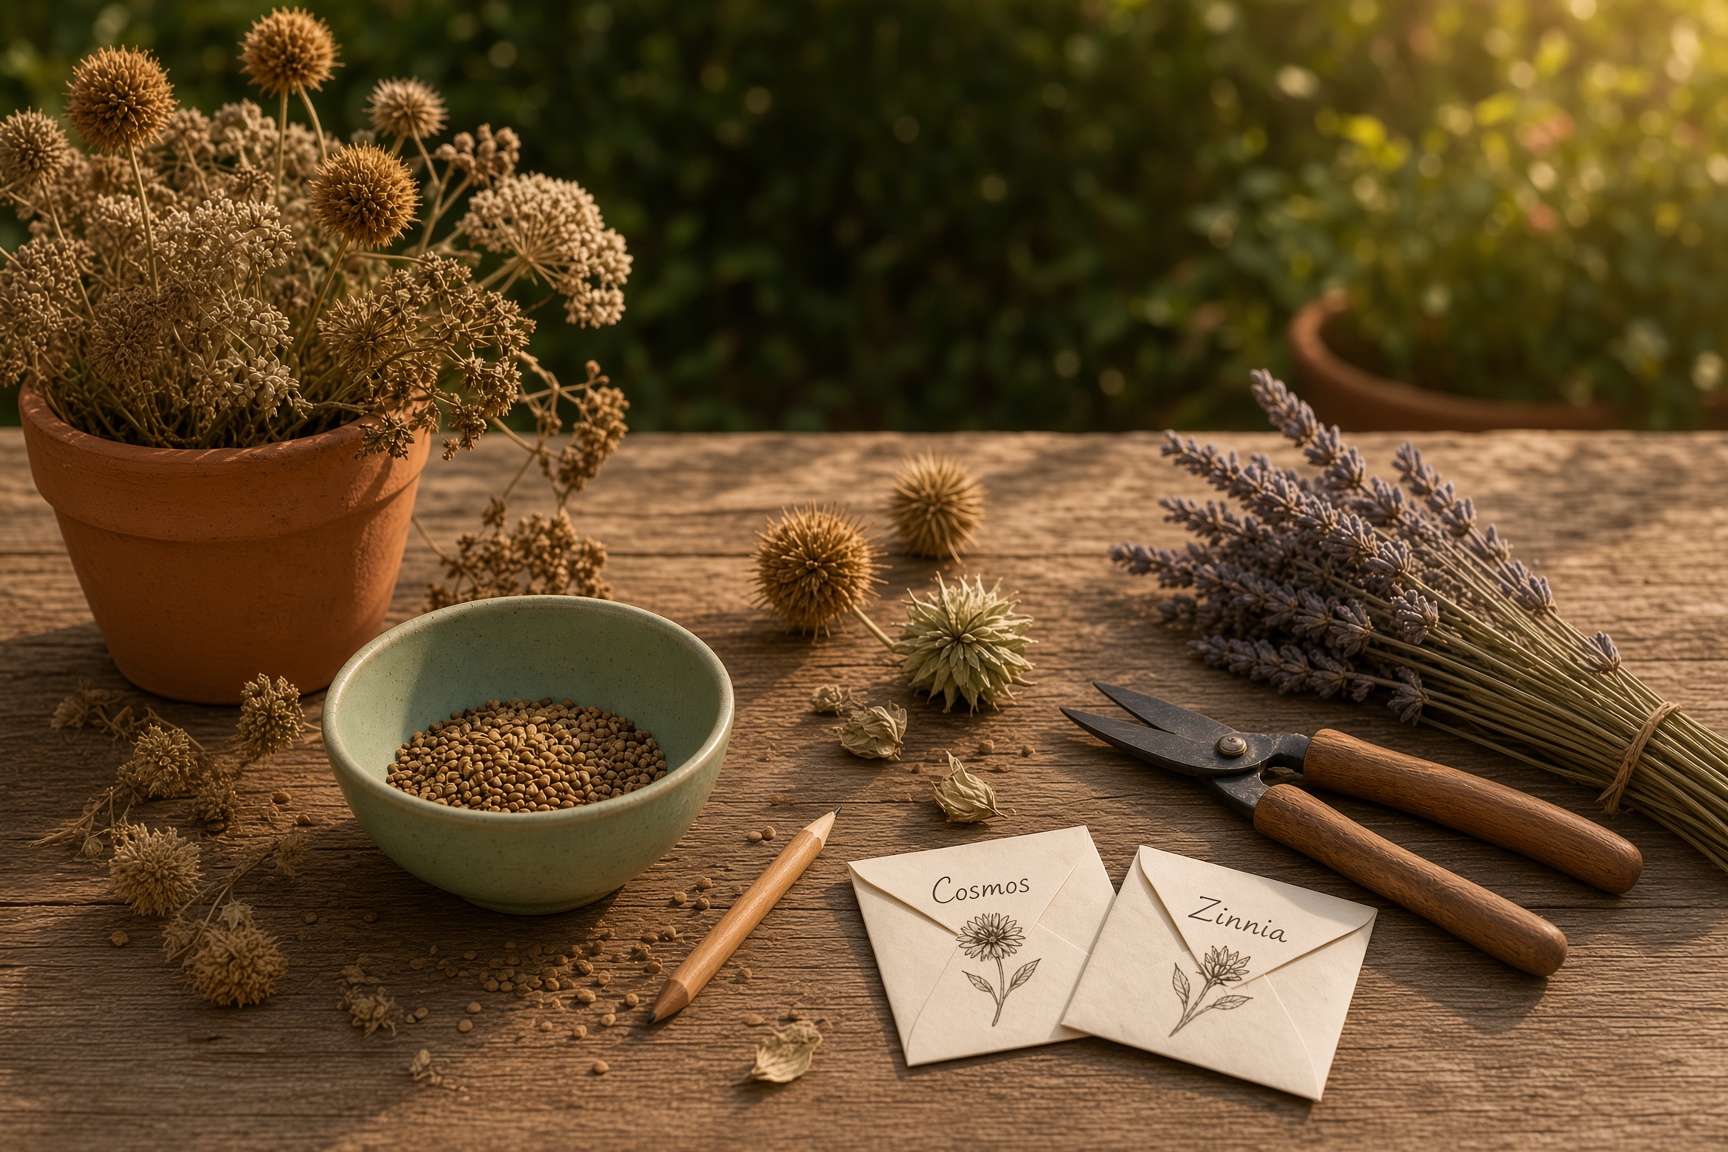
The garden in late summer is a place of quiet abundance. The flowers have bloomed, the bees have done their work, and now the plants are busy with a different kind of magic. They are making seeds. Each dried flower head, each brown pod, each withered stem holds the promise of next year’s garden. Collecting and saving seeds is one of the simplest and most satisfying gardening jobs.
It costs nothing, takes very little time, and rewards you with a free supply of flowers and vegetables year after year. It also connects you to a tradition that is as old as gardening itself.
If you have never saved seeds before, late summer and early autumn are the perfect time to begin. The seeds are ripe, the weather is dry, and the garden is generous. This guide will show you how to collect and save seeds from your garden, with a special focus on poppies, calendula, cornflowers, and other popular flowers.
If you enjoy growing flowers from seed, you might also like our guide on what to sow in August for autumn and winter harvests HERE.
Why saving seeds matters
Saving seeds is a quiet act of self‑sufficiency. It reduces your reliance on seed catalogues and garden centers. It saves money. It preserves the varieties you love, especially heirlooms and open‑pollinated plants that may not be widely available. And to collect and save seeds from your garden is one of the simplest and most satisfying gardening jobs.
But there is more to it than that. When you save seeds from the plants that have thrived in your garden, you are selecting for resilience. A cosmos that flowered continuously despite an exposed position, or a calendula that coped with poorer soil. These plants carry genetics that are already adapted to your unique conditions. Over time, your saved seeds will produce plants that are stronger, more vigorous, and better suited to your garden than anything you could buy.
To collect and save seeds from your garden is also a wonderful way to share your garden with others. A small envelope of seeds makes a thoughtful, personal gift. And when you grow plants from seeds you saved yourself, you feel a deeper connection to the garden and its rhythms.
Which seeds to save and which to avoid
Not all seeds are worth saving. The first rule of seed saving is to choose open‑pollinated or heirloom varieties. These plants are “true to type”. The seeds they produce will grow into plants that look like the parent plant. Hybrid plants, on the other hand, are crosses between two different parents. Their seeds produce unpredictable results and often grow into flowers that do not resemble the parent plant. If you are unsure whether a plant is open‑pollinated or hybrid, check the seed packet or search the variety name online.
For beginners, the easiest plants to save seeds from are self‑pollinating vegetables like beans, peas, tomatoes, and lettuce. These have a lower chance of crossbreeding with other varieties. For flowers, start with annuals like marigolds, zinnias, cosmos, sunflowers, calendula, and poppies. These are straightforward to collect and store.
Choose the healthiest, strongest plants for seed saving. Avoid collecting seeds from plants that show signs of disease or pest damage. You want to pass on the best genetics to next year’s garden.
When to harvest seeds
Timing is everything. Seeds need to be fully mature before you collect them. For most flowers and dry‑seeded vegetables, this means waiting until the seed heads or pods have turned brown and brittle on the plant, signalling that they are ready to collect and save seeds from your garden
A simple test is to press a seed with your fingernail. If it dents easily, it needs more time on the plant. A mature seed is hard and resists denting. Pods that rattle when shaken, or seed heads that crumble easily, are also good signs of readiness.
Harvest on a dry day. Damp seeds can quickly rot, so waiting for a spell of dry weather is important. Consider laying a tarp or sheet under plants before you start to catch any seeds that drop.
How to collect seeds from specific flowers

Different flowers require slightly different methods. Here are some of the most popular and easiest to save.
Poppies
Poppy seeds are ready to harvest once the seed pods have dried off and the plant has begun to die back. Gently shake a few pods near your ear. If you can hear the seeds rattling inside, they are ready. Snip the dried pods into a bowl and shake the seeds out. Poppy seeds are very fine, so store them in a really well‑sealed container, envelopes may not be sufficient.
Calendula
Calendula is one of the easiest flowers for seed saving. The seeds are quite large and form a distinctive “clawed” ring around the centre of the dried flower head. They can be easily collected once the majority are no longer green and have dried off. Simply pull the dried seeds from the flower head and store them in a paper envelope or small jar.
Cornflowers
Cornflower seeds are tufty little seeds that can be pulled out of the dried flower heads. Wait too long and they will have already dropped and blown away, so harvest when there are still a few blooms left on the plant but most of it has dried off. The dry seeds can be stored in a paper envelope or seed packet.
Zinnias
Zinnias are another favourite for seed saving. Once the flowers turn dry and brown, clip the flower heads off the plant and place them in a paper bag. Let them dry indoors for a week or two, then rub the fully dried flowers roughly to separate the seeds. Discard the remaining flower debris and store the seeds in labelled paper envelopes. Choose open‑pollinated varieties like ‘California Giant’ or the ‘Queenie’ series.
Sunflowers
Sunflowers are perhaps the easiest of all. Wait until the petals fall off and the back of the sunflower head turns brown. Then rub the seeds off the flower head and into a paper bag, or clip the entire head off the plant and hang it up to dry indoors until the seeds are easily loosened with your fingers. Cover the heads with a paper bag if birds are trying to eat the seeds before you harvest them.
Cosmos
Cosmos seeds are harvested much like zinnias. Pick the flowers when they start to dry out and turn brown, let them fully dry in a perforated paper bag indoors, then rub the flower heads to separate the seeds. Avoid collecting seeds from plants affected by powdery mildew, which may survive on seed coats and reinfect plants when you sow seeds in spring.
How to dry and clean your seeds

Proper drying is one of the most important steps in seed saving. Even a small amount of moisture can cause mould and ruin your seeds.
Spread the seeds in a single layer on a tray, on newspaper, or on a screen. Place them in a cool, dry, well‑ventilated area out of direct sunlight. Allow them to dry for one to two weeks, or until they are completely hard and cannot be dented with a fingernail.
While the seeds are drying, remove any debris – leaves, pieces of pod, or chaff. If some seeds remain in their pods, you can place them in a paper bag and shake vigorously to release them.
For wet‑seeded crops like tomatoes, the process is slightly different. Scoop the seeds and gel out of the fruit and place them in a glass jar with some water. Let the mixture ferment for a few days, stirring occasionally. The viable seeds will sink to the bottom, and the pulp and non‑viable seeds will float. Rinse the good seeds in a fine strainer, then spread them on a glass or ceramic plate to dry. Avoid paper towels, as dried seeds can be hard to pry from them.
How to store your seeds

Once your seeds are completely dry, it is time to store them. Proper storage will keep them viable for years.
Use paper envelopes or paper bags. Paper allows any remaining moisture to escape and prevents mould. Avoid plastic bags, which trap moisture and can cause seeds to rot. Small glass jars with airtight lids are also excellent, especially for very fine seeds like poppies.
Label everything. It is easy to forget which seeds are which by the time spring arrives. Write the plant name and the date of collection on each envelope or jar. You may also want to note the colour of the flowers or any other relevant details.
Store in a cool, dry, dark place. The two greatest enemies of stored seeds are heat and moisture. A basement, a cool cupboard, or a closet are all good options. Some gardeners store their seeds in the refrigerator, which provides consistently cool temperatures. If you do this, place the seeds in an airtight container to protect them from moisture. A small silica gel sachet can help absorb any excess moisture.
Seeds stored properly should stay viable for three to four years, depending on the variety.
A quiet invitation
Saving seeds is a practice in patience and trust. It asks you to notice the small changes in the garden – the browning of a petal, the rattling of a pod, the quiet work of a plant completing its cycle. It connects you to the rhythm of the seasons in a way that buying seeds never can.
This week, I invite you to step into your garden with a paper bag and a pair of snips, ready to collect and save seeds from your garden. Look for the dried flower heads, the brown pods, the seeds that are ready to be collected. Gather them gently, dry them carefully, and store them with love.
Next spring, when you sow those seeds and see the first green shoots emerge, you will remember exactly where they came from. And that is a beautiful thing.
Save this post for your late‑summer seed‑saving plans. 📌
👇 What seeds are you planning to save this year? Share in the comments below or tag me on Instagram @sophiasquietcottage.


Leave a Reply